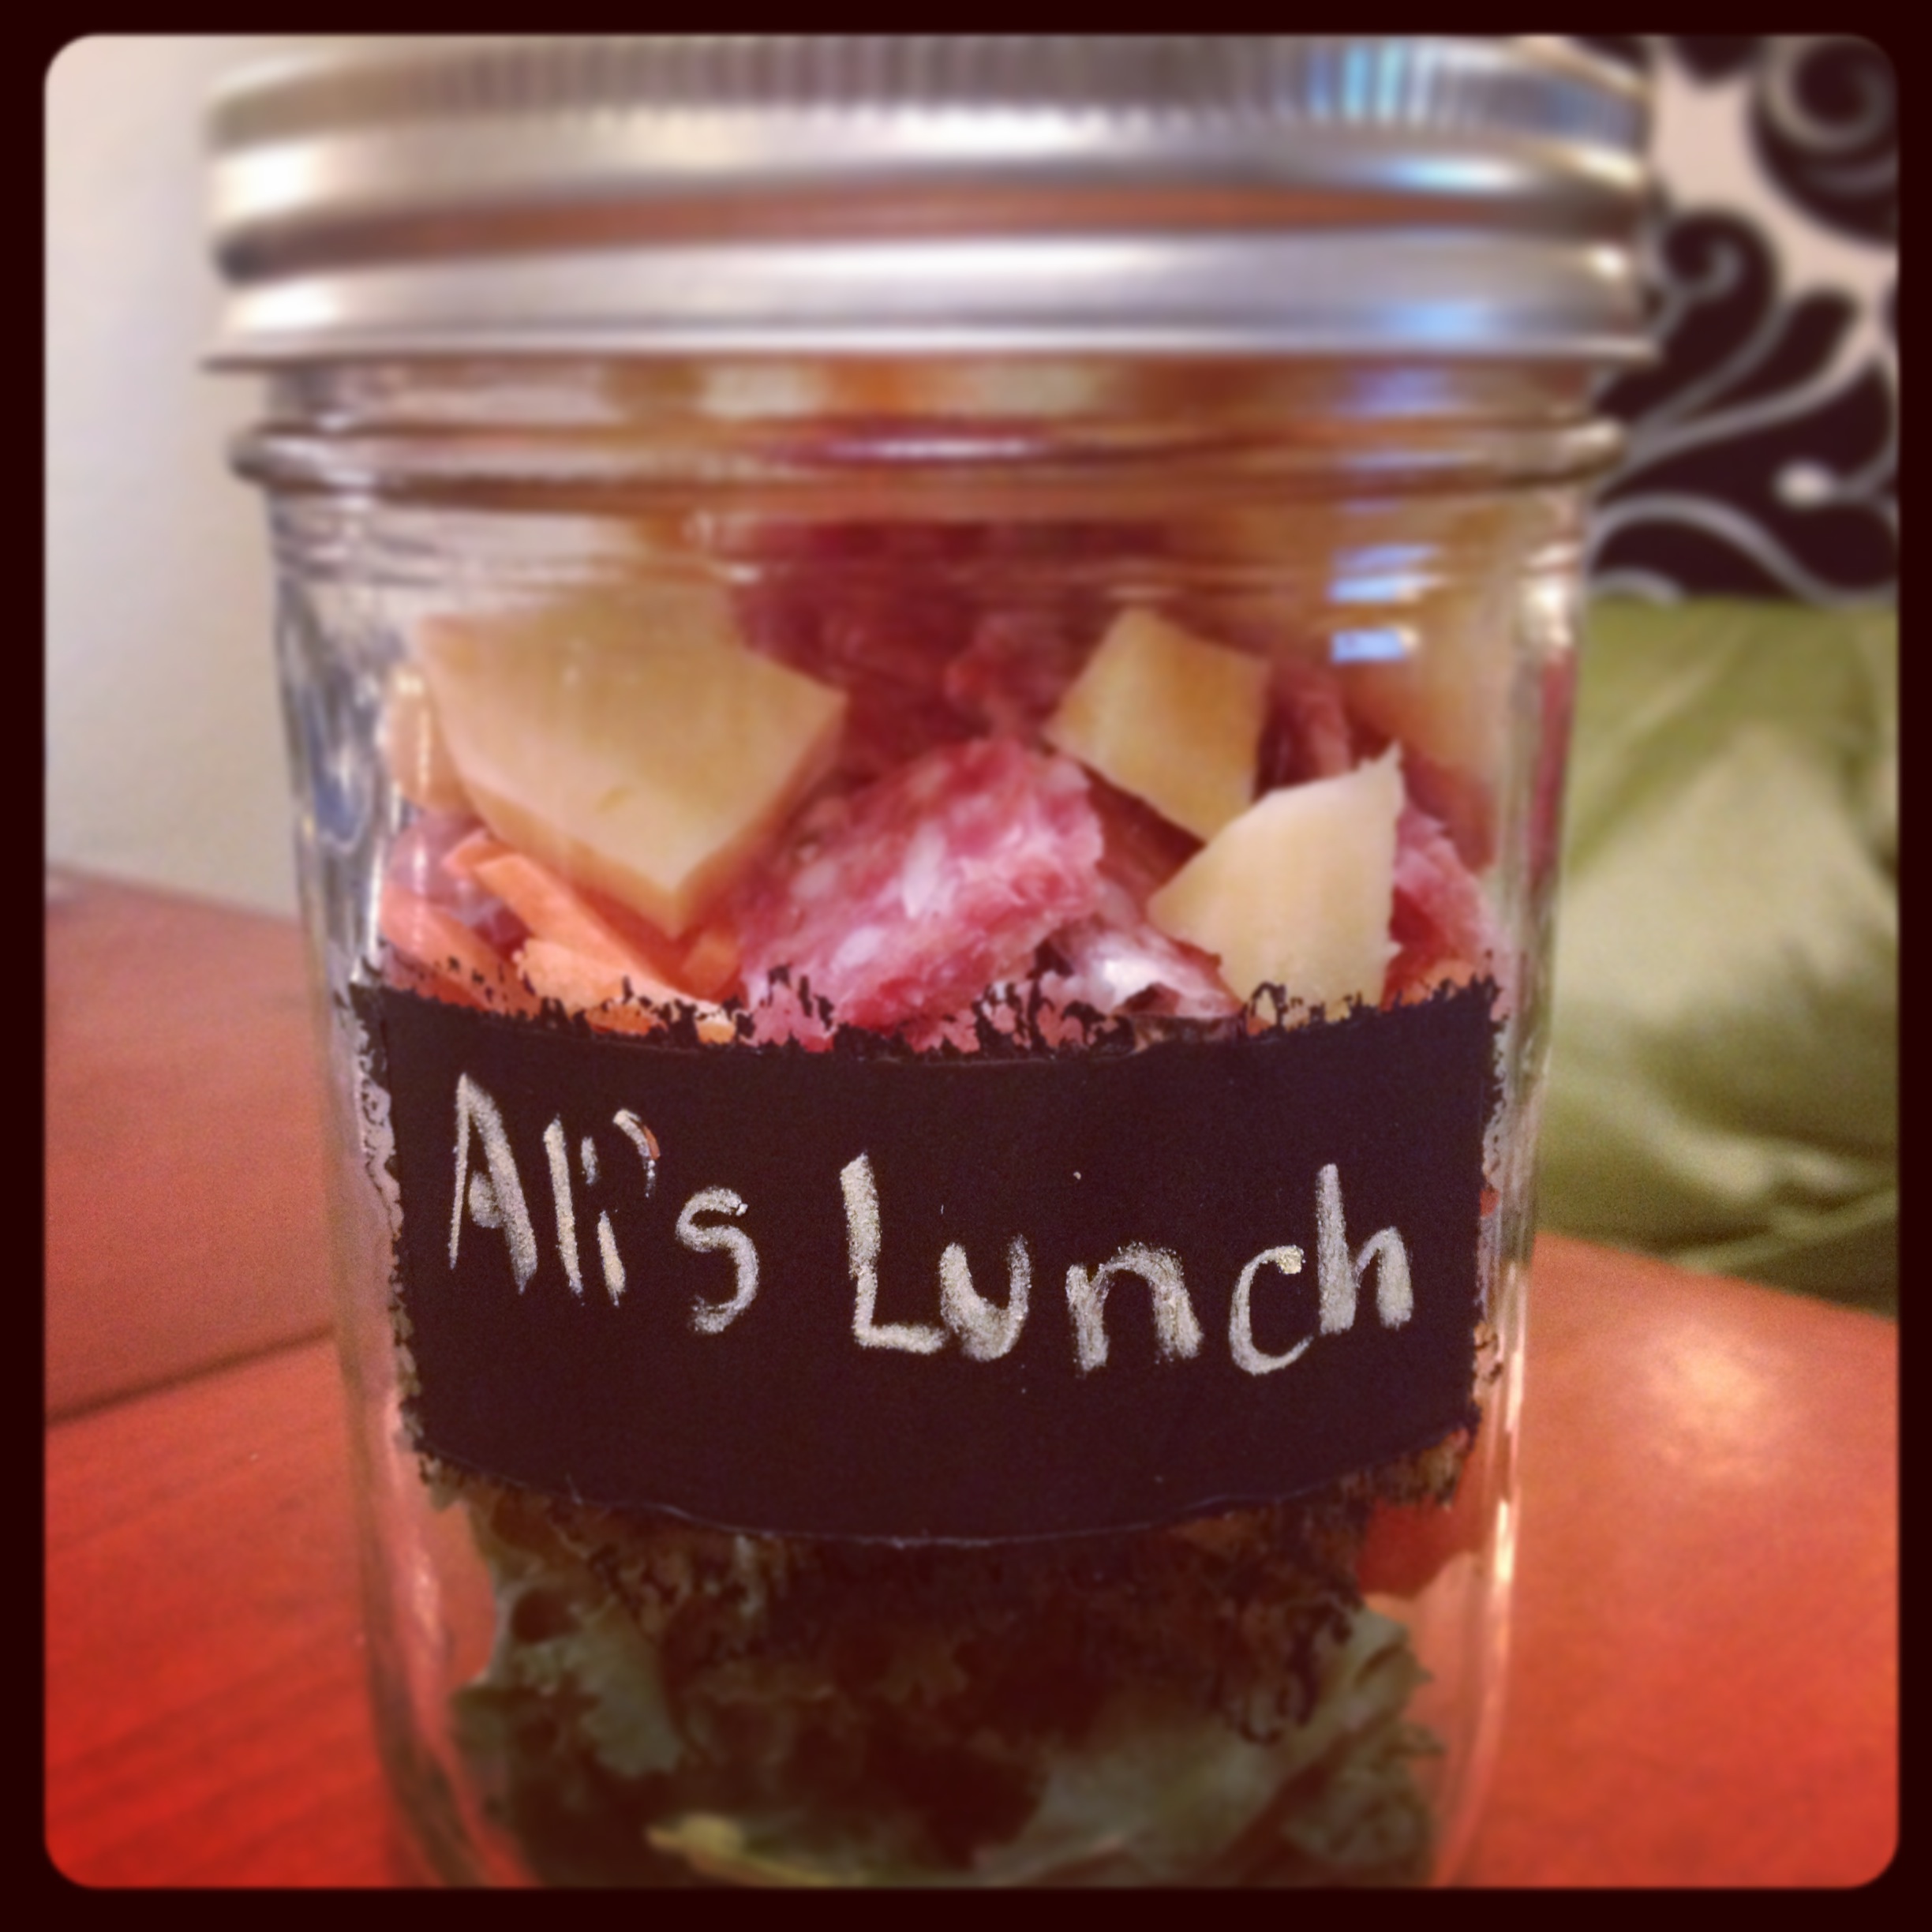

The time has come! I’ve been in love with the “chalkboard paint on things” concept for, well, ever, and I finally broke down and bought some at the grocery store over the weekend. I’m not a mom, but I’ve already found multiple applications for this handy paint, the first of which is for mason jar lunches, leftovers, and pantry items.
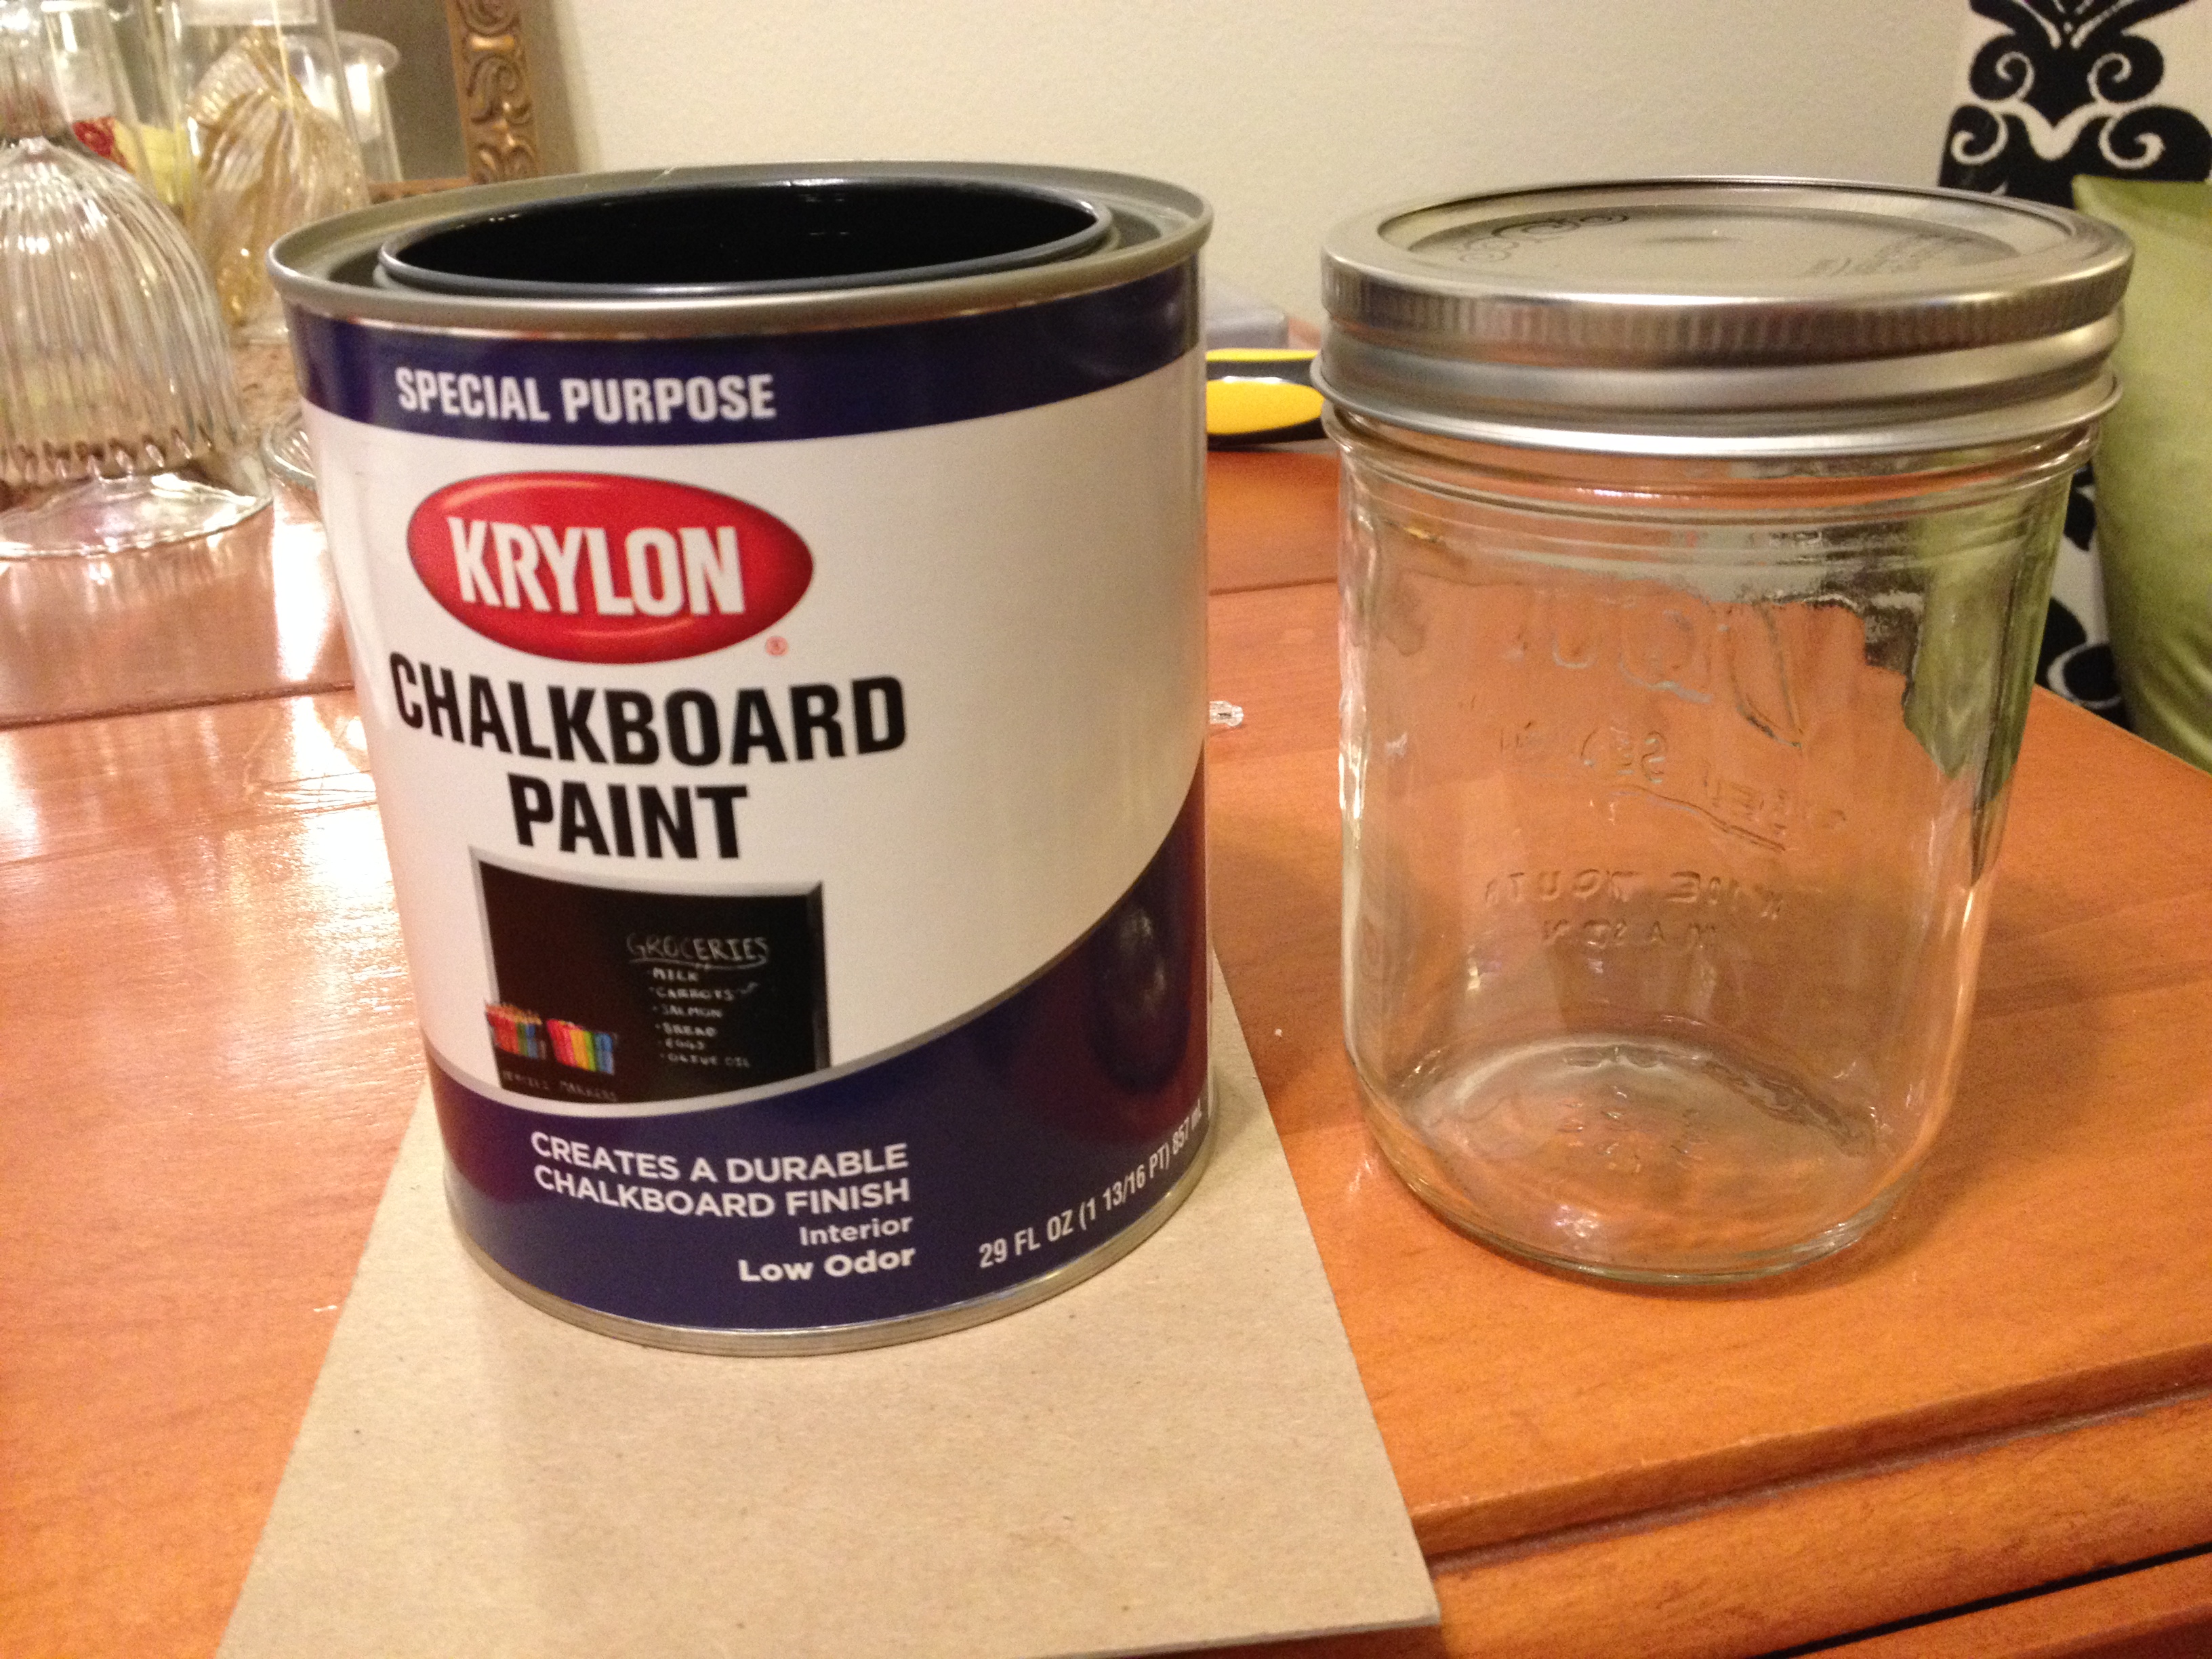
This is an easy project that takes a whopping 15 minutes to prep (longer if you want a very clean look). Perfectionists may take issue with my application, but I much prefer the organic look of bleeding edges rather than clean edge alternative. To get started, pick up some chalkboard paint from any craft store or the behemoth quart size I purchased from my local Fred Meyer ($12 for all of that? I’ll be chalkboarding for years), some masking or painter’s tape, a small paintbrush and jar.
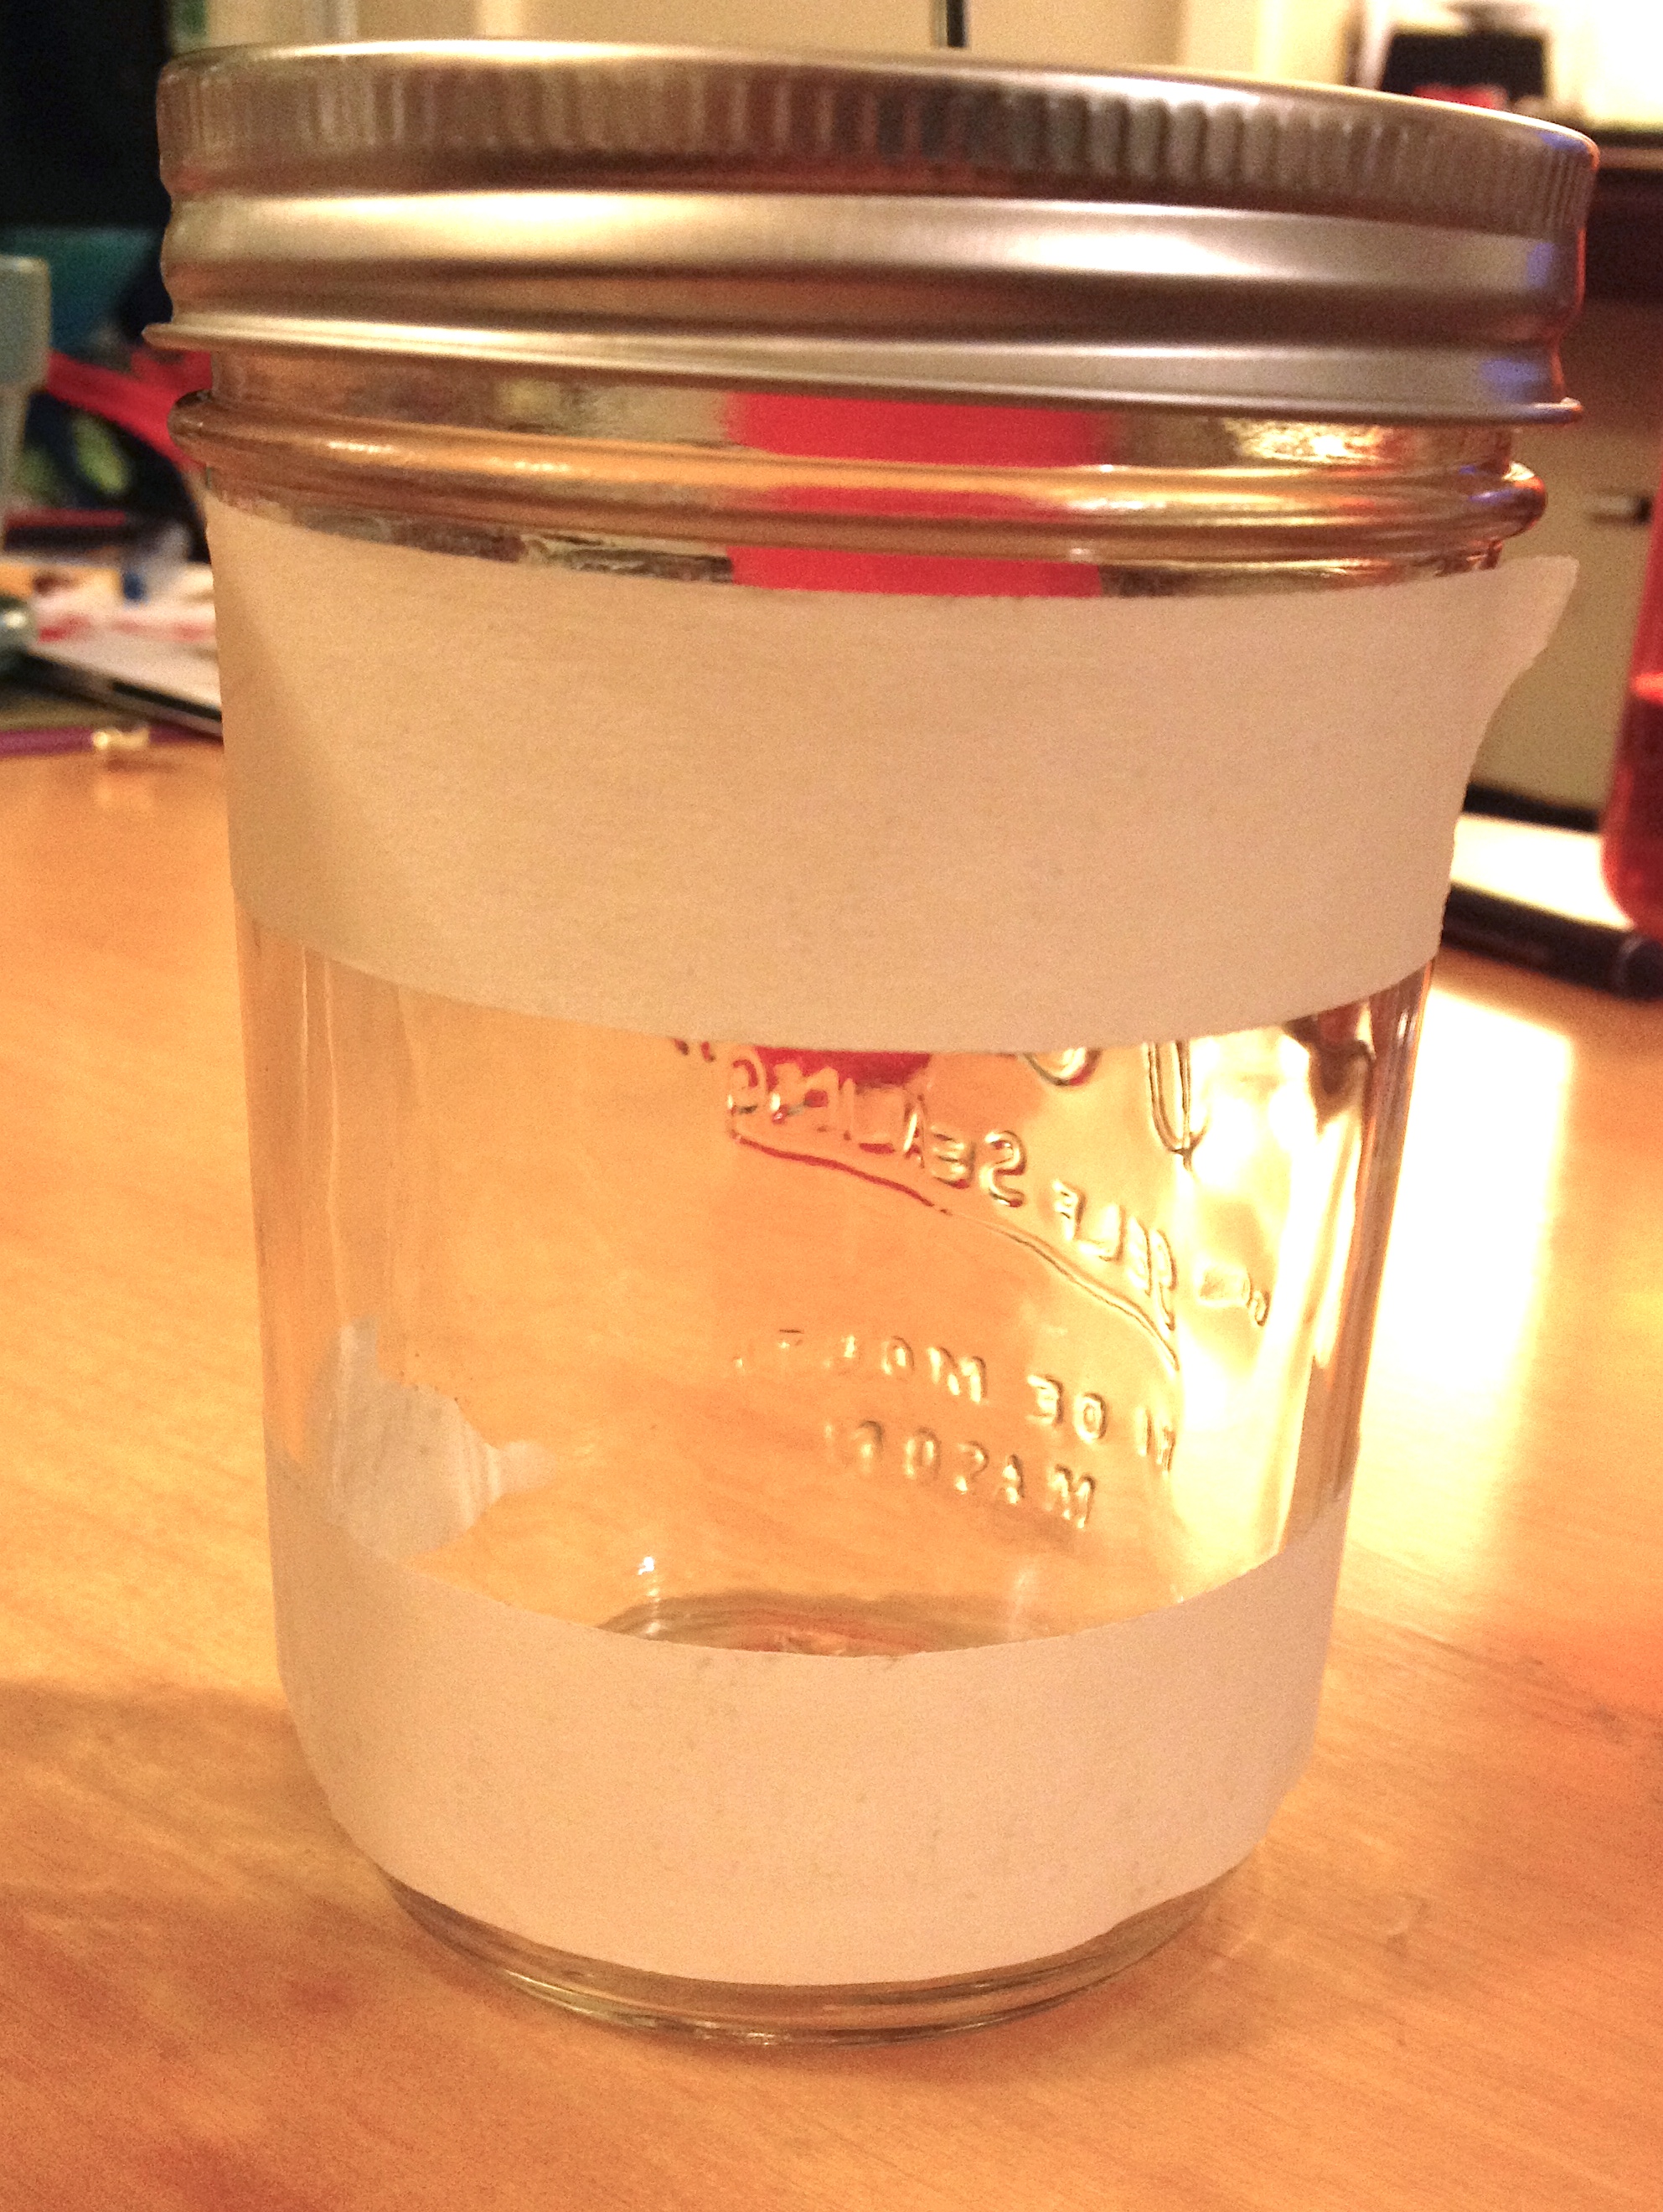
Make sure to paint on the opposite side of the embossed lettering.
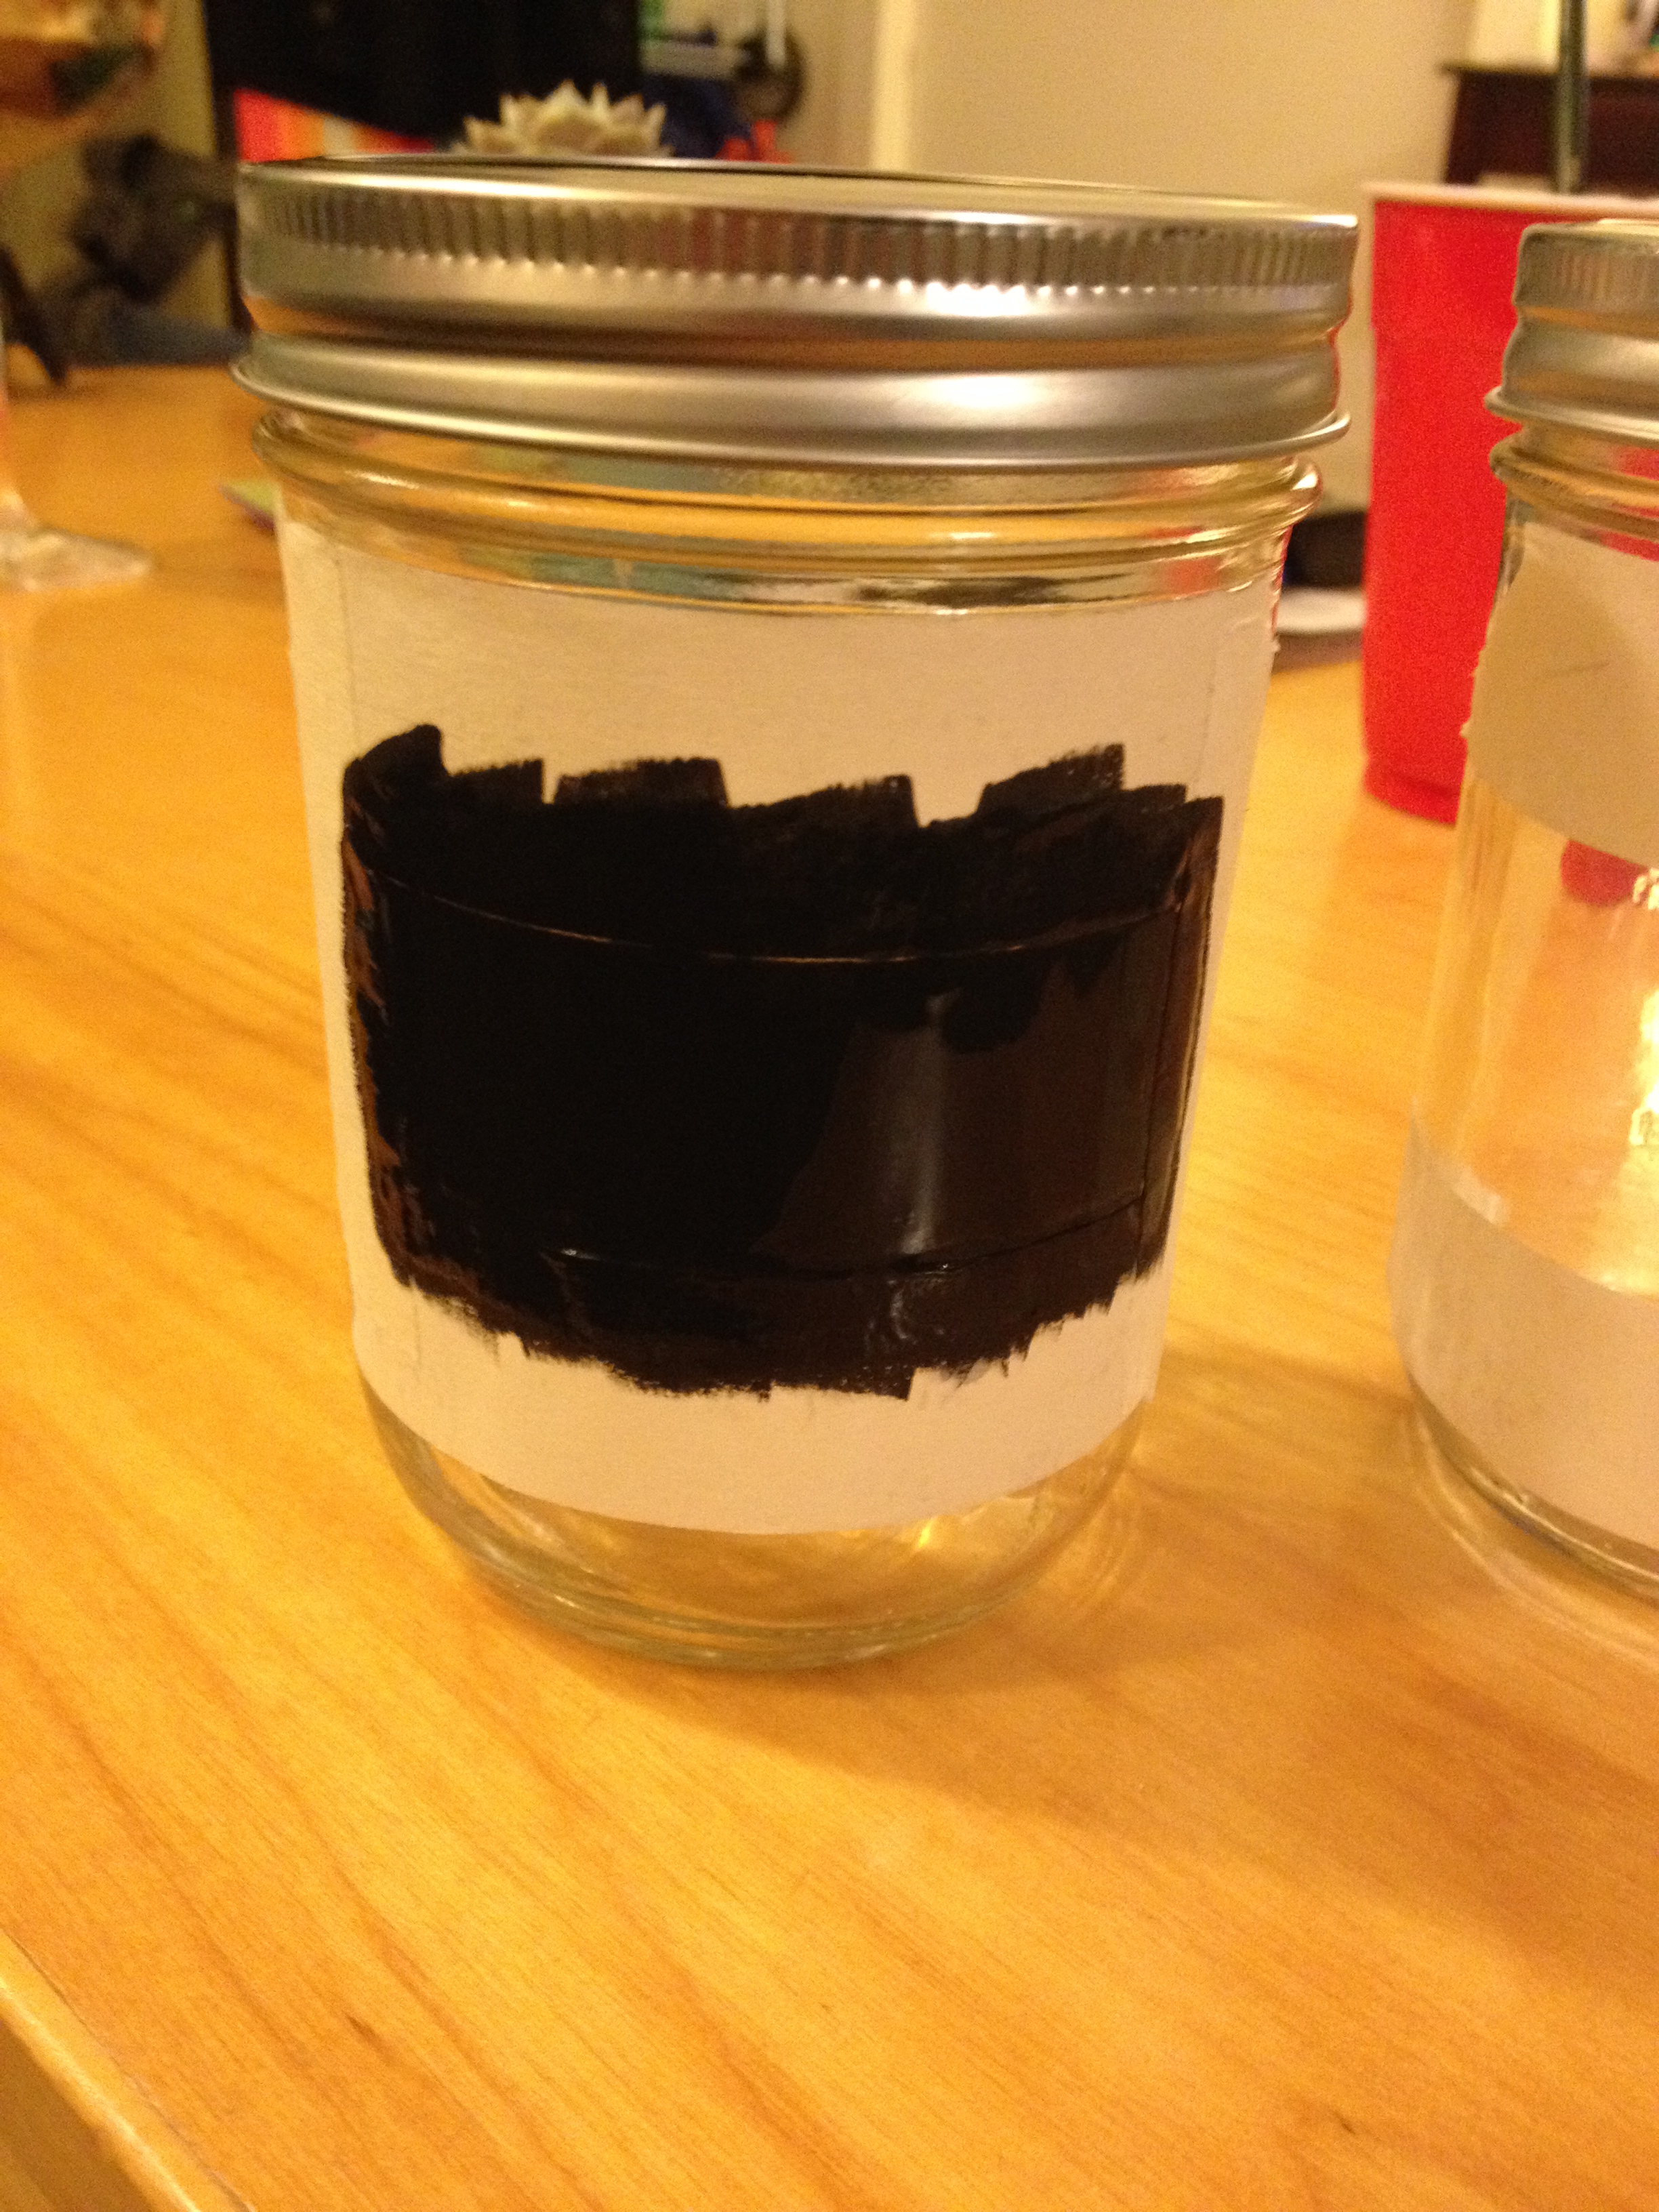
If quick and dirty is your bag, then throw caution to the wind and don’t worry about precision. Use masking or painters tape to mark off the painting section. Get creative! This was my first pass, but I intend to try a word bubble, star and cloud in the near future.
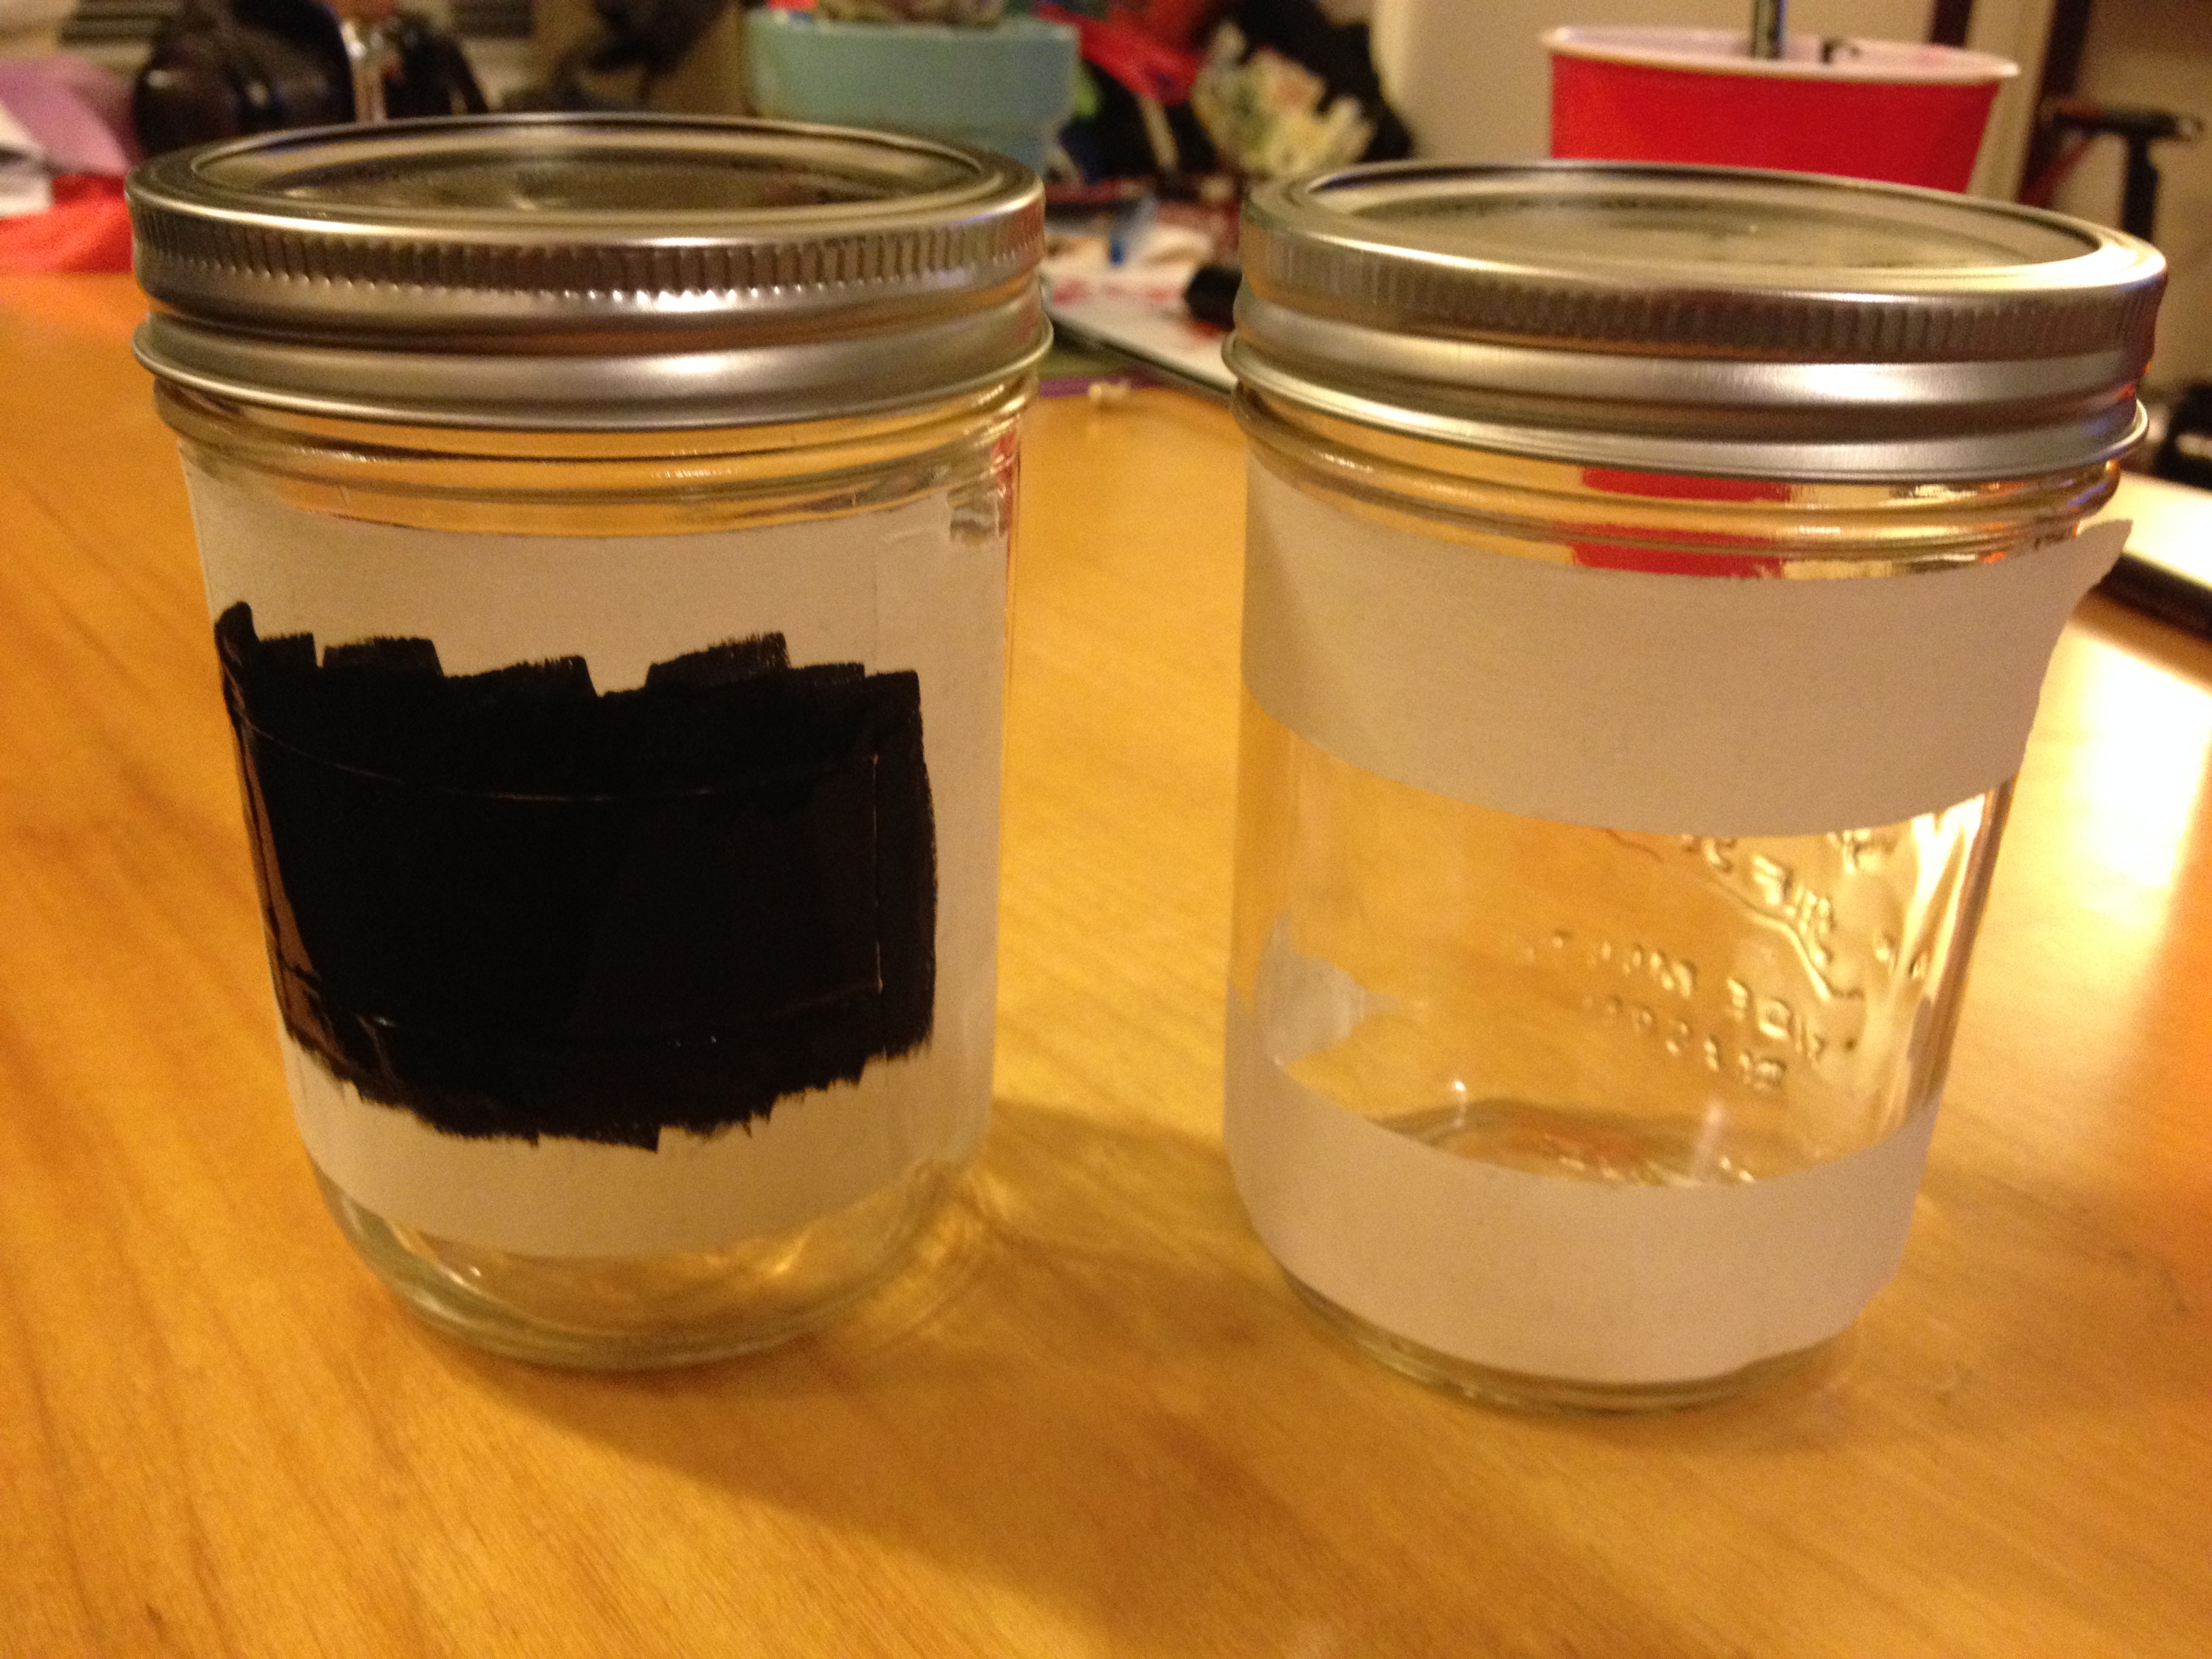
I did two separate attempts for this project: one had a taped off rectangle, and the other was only taped on the top and bottom. After trying both, I recommend the rectangle. It will still have the bleeding edges, but looks more methodical than not taping the sides (which ended up looking lazy to me).
The paint needs at least an hour to dry before applying another layer, and I would recommend doing closer to three coats, particularly if you are working with glass. In the process of writing on the chalkboard the first time, the chalk scraped off a small bit of paint, so make sure there’s enough of it to withstand writing pressure and write gently.
Enjoy your newly revamped mason jars!